VS-Code Extension
About the Plugin
In recent times, Salesforce has promoted VS Code as a go-to IDE for development. VS Code can be used for creating customization code as well as managing the configuration files. There are several extensions that are specifically built for Salesforce development. Some of these extensions are built by Salesforce itself, whereas some are built by other developers. Similarly, we have built a VS Code extension that can help you create the plays from the VS Code without logging in again into PlayGround / Salesforce or Version Control.
Installing the Extension
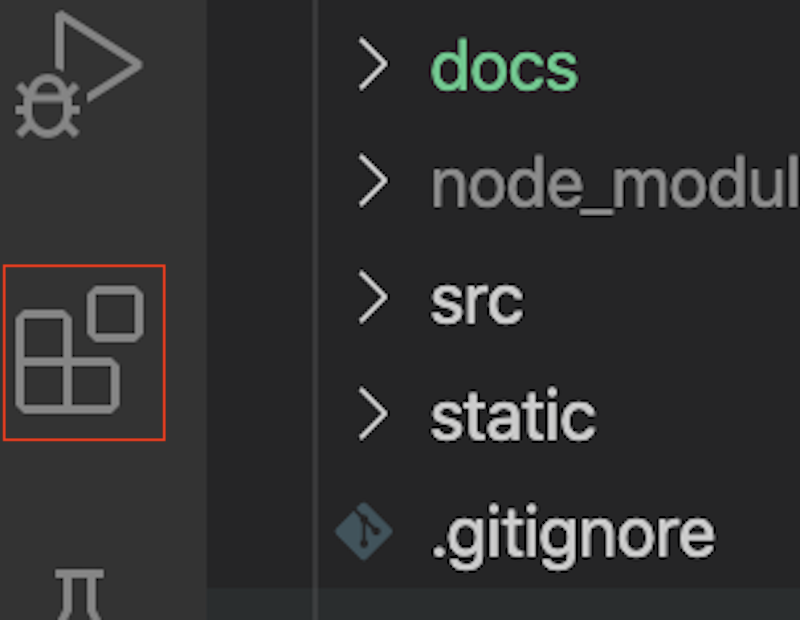
Open the Visual Studio Code and open the Extension options from the sidebar.
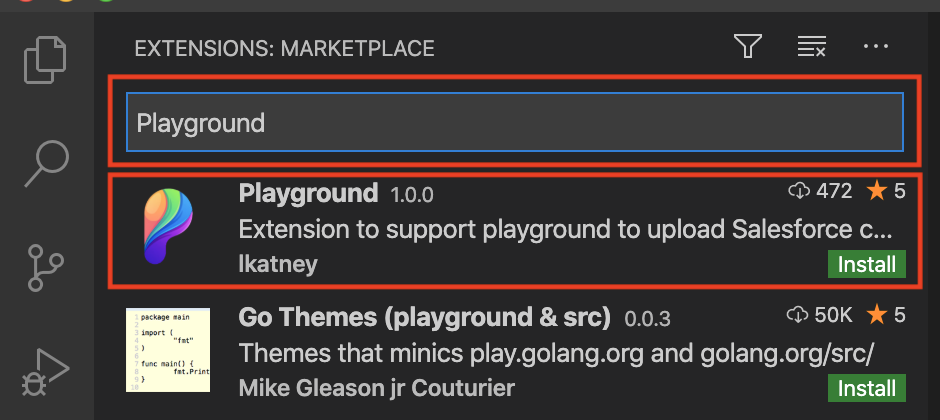
Search for Playground extension in the marketplace. A user would get all the extensions that have Playground in the name or description. Select the following one:
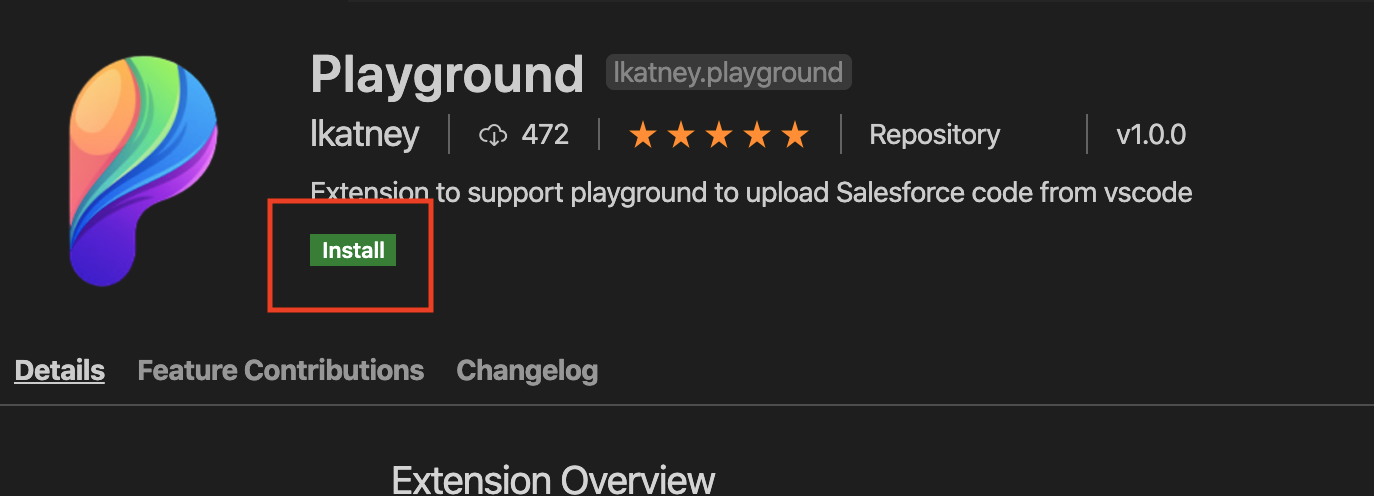
Click on Install to install the extension in VS Code.
Generating App Password
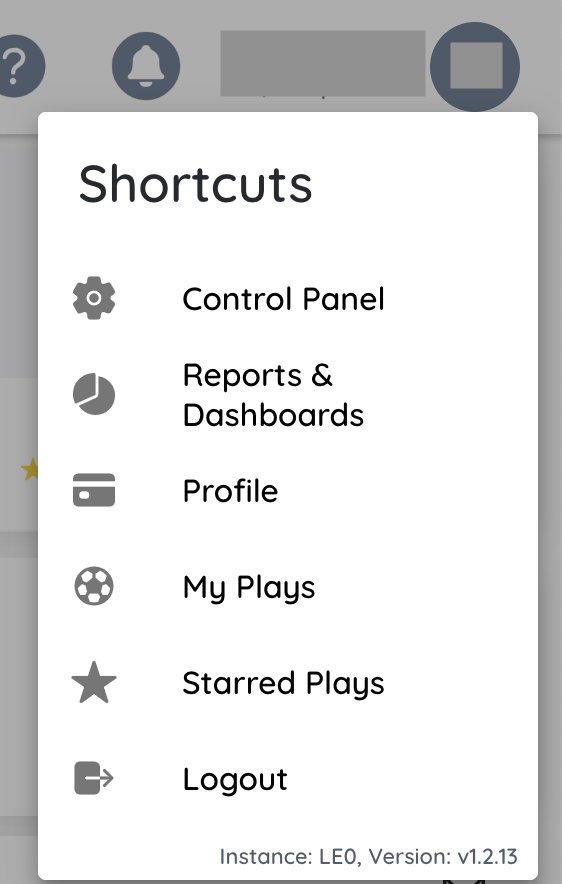
To connect VS code with Playground, the user would need to generate an App Password in the Playground and consume the details in VS Code. Log into the Playground and click on the user details on the top right. Select the Profile option to see profile details and customize it.
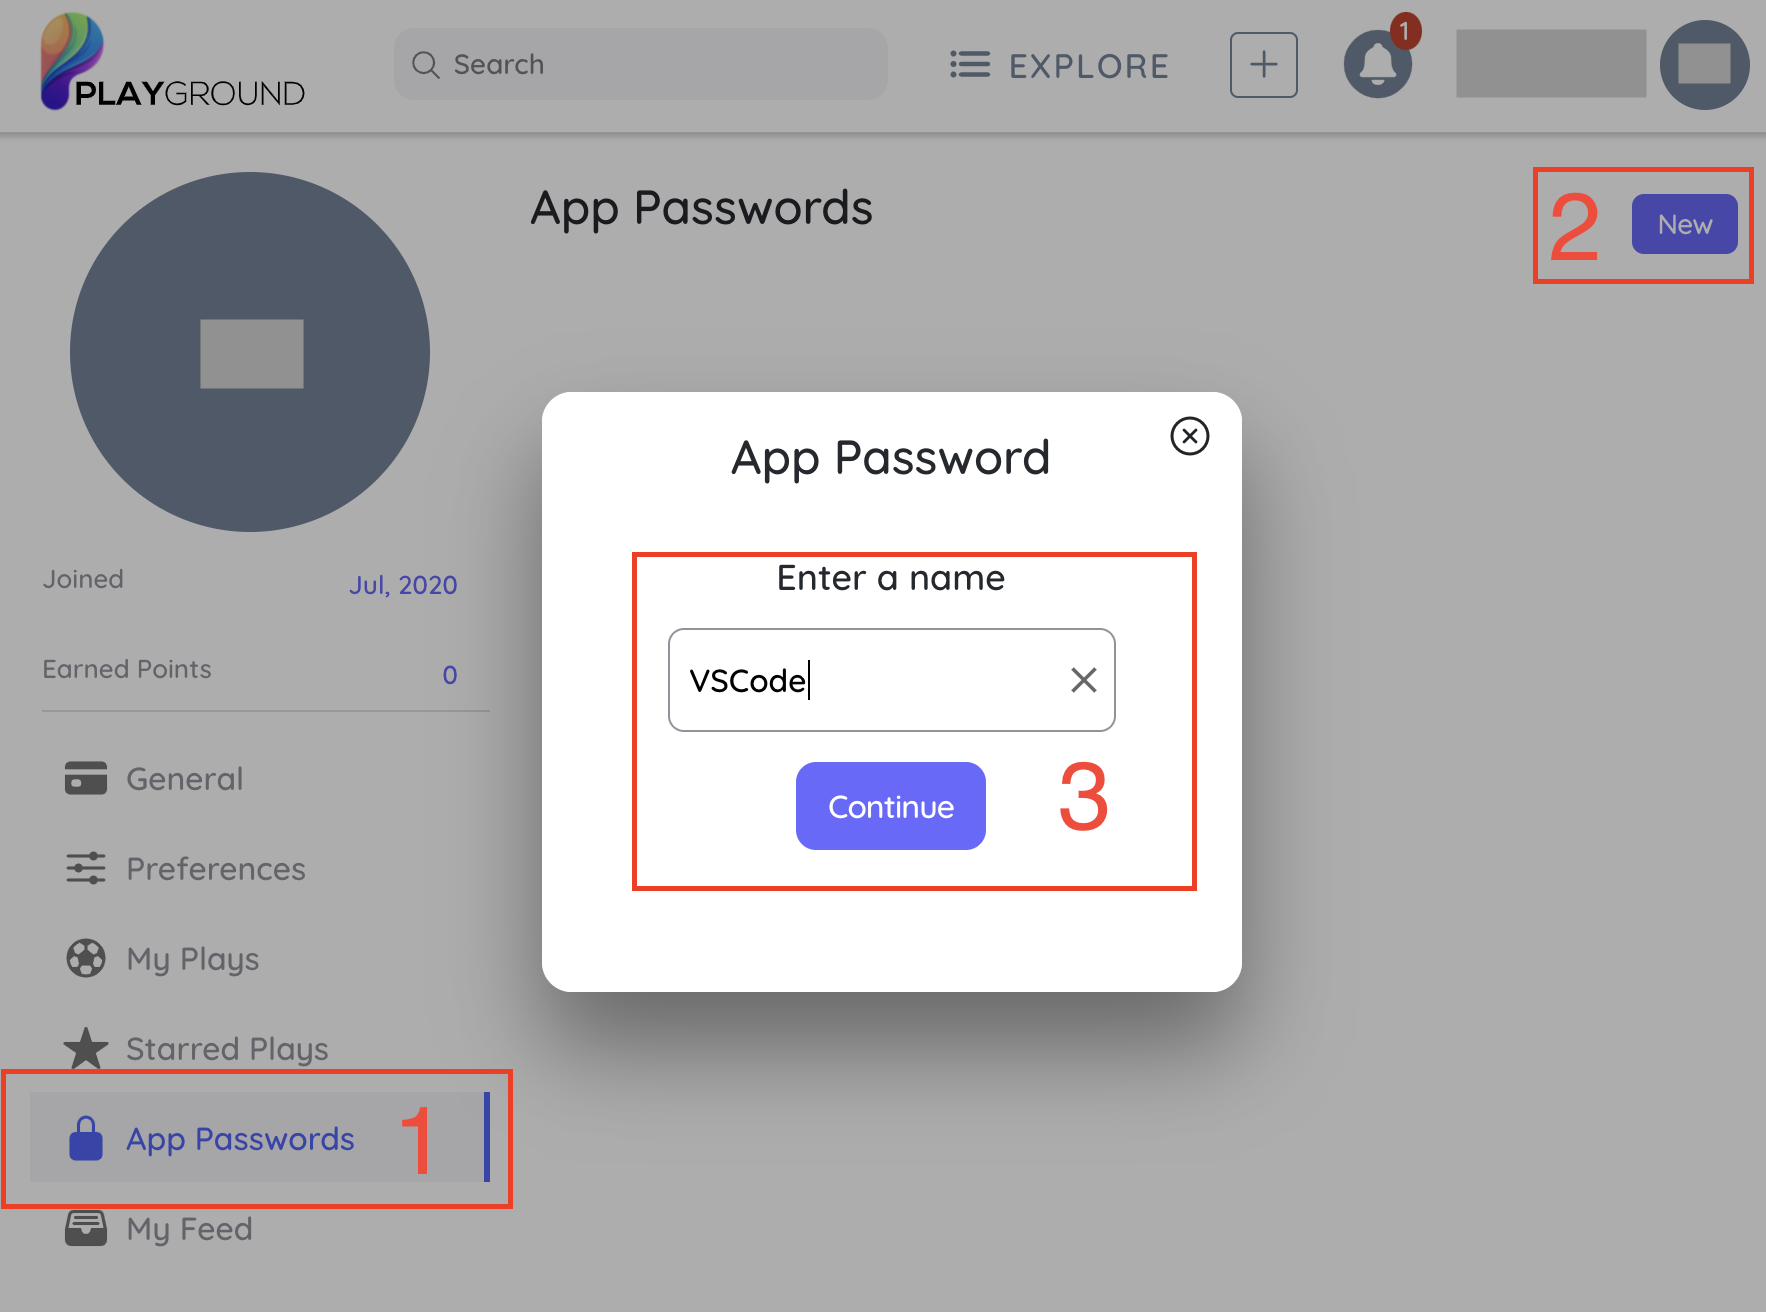
From the left sidebar menu, click on App Passwords, This would open the existing app passwords (if created earlier), and it gives an option to create a new app password. Click on New button. It opens a pop-up to create a new app password. Enter a meaningful name like VSCode. Click Continue, once done.
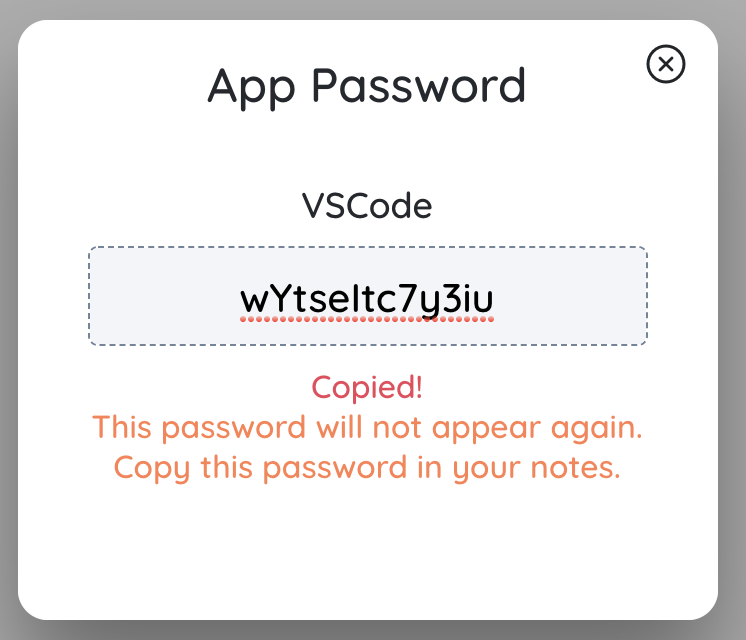
Copy the app password. Make sure to note it safely (if needed), as it will not be visible after you move away from the page.
Get User Nickname
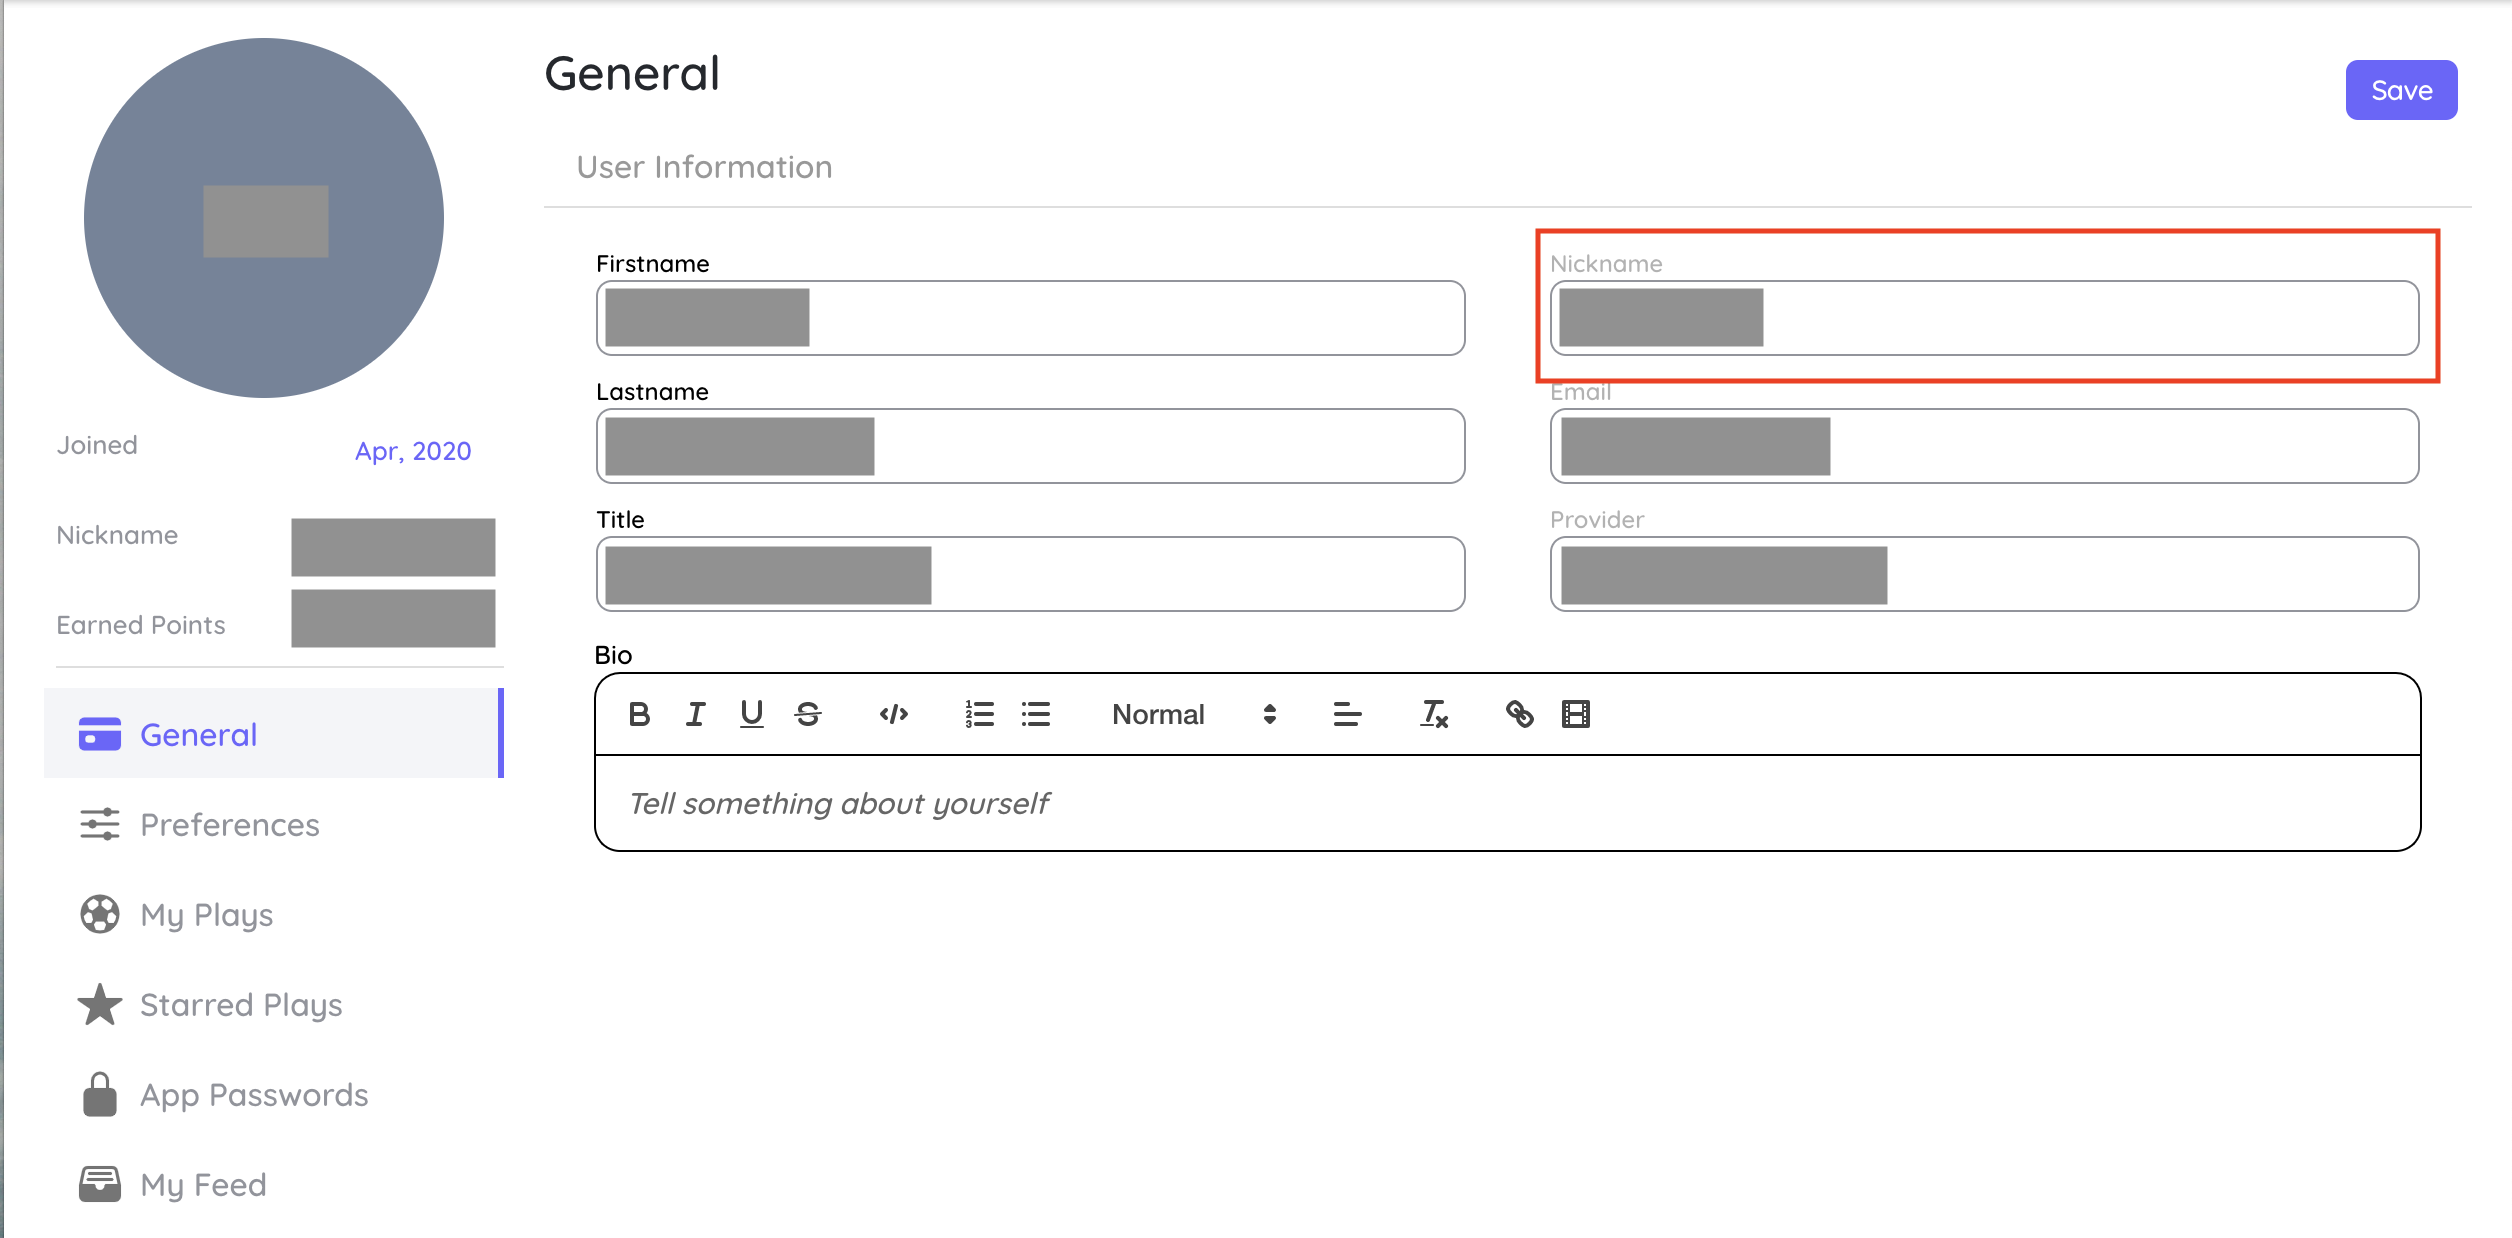
Remaining on the profile details page, click on the General link on the sidebar. Copy the nickname. It will be needed later while connecting VS Code with Playground application.
Initializing Playground Extension
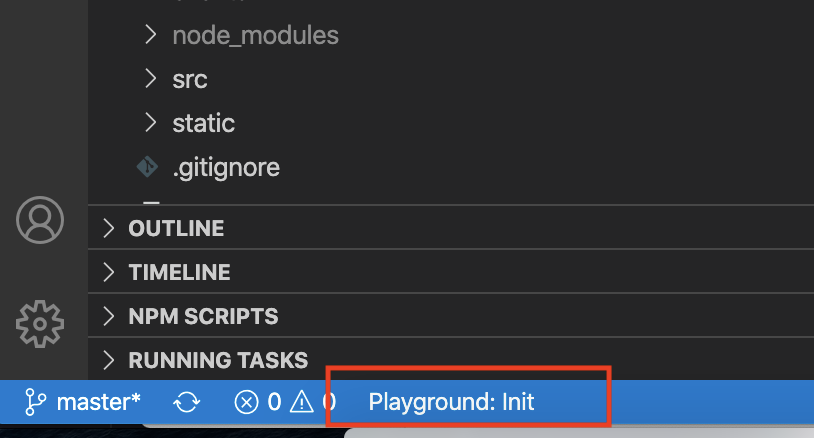
Its a pre-requisite to connect the Playground extension with the Playground application. This will help in smooth movement of plays between local system and application. To do so, its important to initialise the Extension. The initialization can happen before or while creating the play in VS Code. In the Status bar at the botton, look for Playground:init and click on it.
Enter the following details as needed :
Domain: Default value is https://live.playg.app, Use custom domain if using private exchange.

Nickname: Use the Nickname value that's found above in the Playground.

App Password: Use the App Password that was generated in previous step.

Play Title: This holds the Title for the Play that is shared with the Playground application when changes are pushed.

Play Type: Type of the Play. It hels Playground understand the configuration and displays actions accordingly.

note
If the user is running the Playground:Init from the Play folder, then Title and Type would be used as the metadata when changes are pushed to the Playground. If the command is run without having a Source folder in VS code editor, then Title and Type values are ignored. These values are specific to the a Play. Also, unning the Playground:Init from the Play folder, creates a .playIgnore file. More details are explaied on Create Play unit.
Extension Usage
Once everything is set up, the Uploading project to the Playground is a single click task. We will be exploring that as we move forward. If you create a play using the extension and need to update the metadata, you only need to repeat the process, and it will override the changes itself.
This extension comes with two actions i.e. Playground: Connect & Playground: Push Changes. All of these can be handled by following either of the things above. It comes with one fancy open link button as well to see you existing.
Want to send limited files?
Playground generates a default .playgignore file to limit the unnecessary files being uploaded to Playground to make your solution clean & easily reusable. .playgignore uses glob patterns to ignore the files. Use appropriate patterns to limit according to the needs.
Open the play through vscode
There is an open link button just along with Playground: Push Changes that can simply open your play whenever you want. See the above image to locate.
Extension Commands
If buttons are not visible, use the following commands from Command Palette:
- Init: Setup folder as a Playground directory
- Connect: Run this command to reset your login if required to replace it with the new App Password.
- Push & Create Play: Creates a play by pushing all files in your Salesforce Project.
- Push & Update Play: Updates the current play by sending your changed files to the Playground.